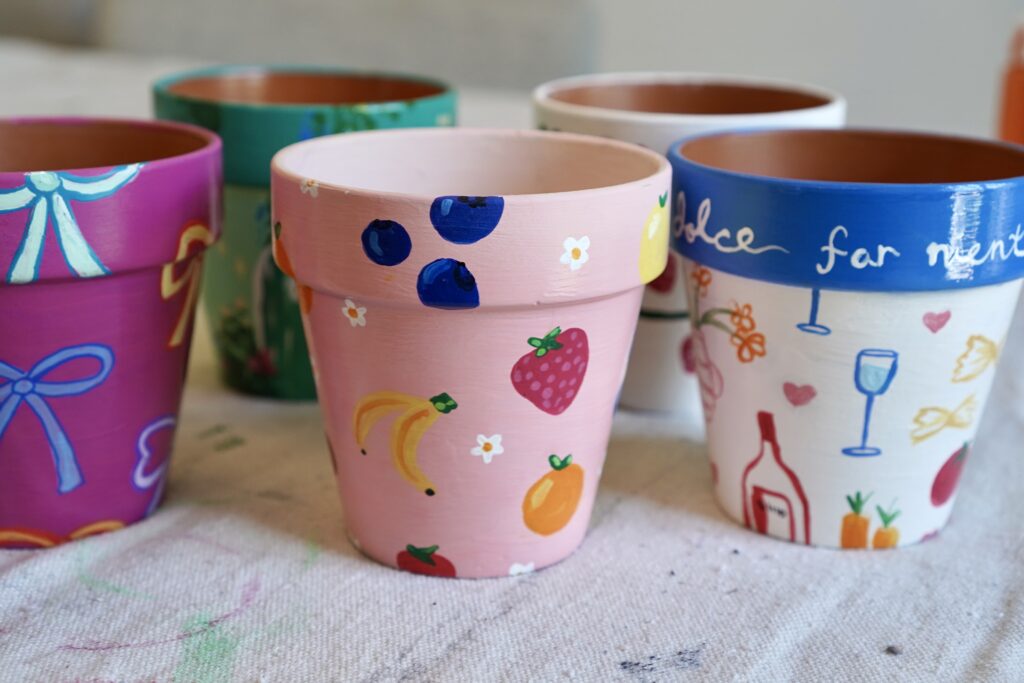
Lately, I’m captivated by the adorable painted terracotta pots I’ve spotted on Etsy and Pinterest. Inspired,I’m diving in to create my own unique versions!
Personalizing my space is fun and creative,and it doesn’t have to be expensive. This DIY project is perfect for a weekend! I’ll guide you through painting terracotta pots in this post, transforming them into vibrant, unique creations.
Discover fashionable and charming designs! You can easily replicate them or find inspiration for your unique projects.
Looking for a fun way to brighten your space? These painted pots are perfect! Use them for plants, storage, or simply as adorable decorations. Let’s start painting and bring some charm to your home!
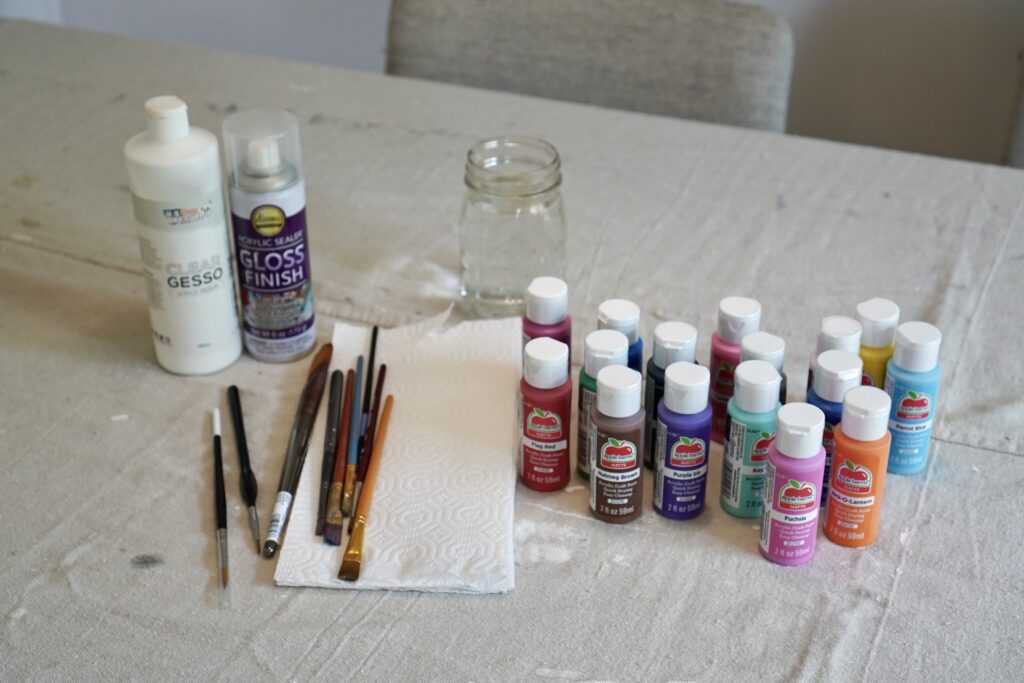
Supplies you will need
I sourced all the necessary materials from Amazon. They arrived quickly thanks to their 2-day delivery!
Choosing designs for your pots
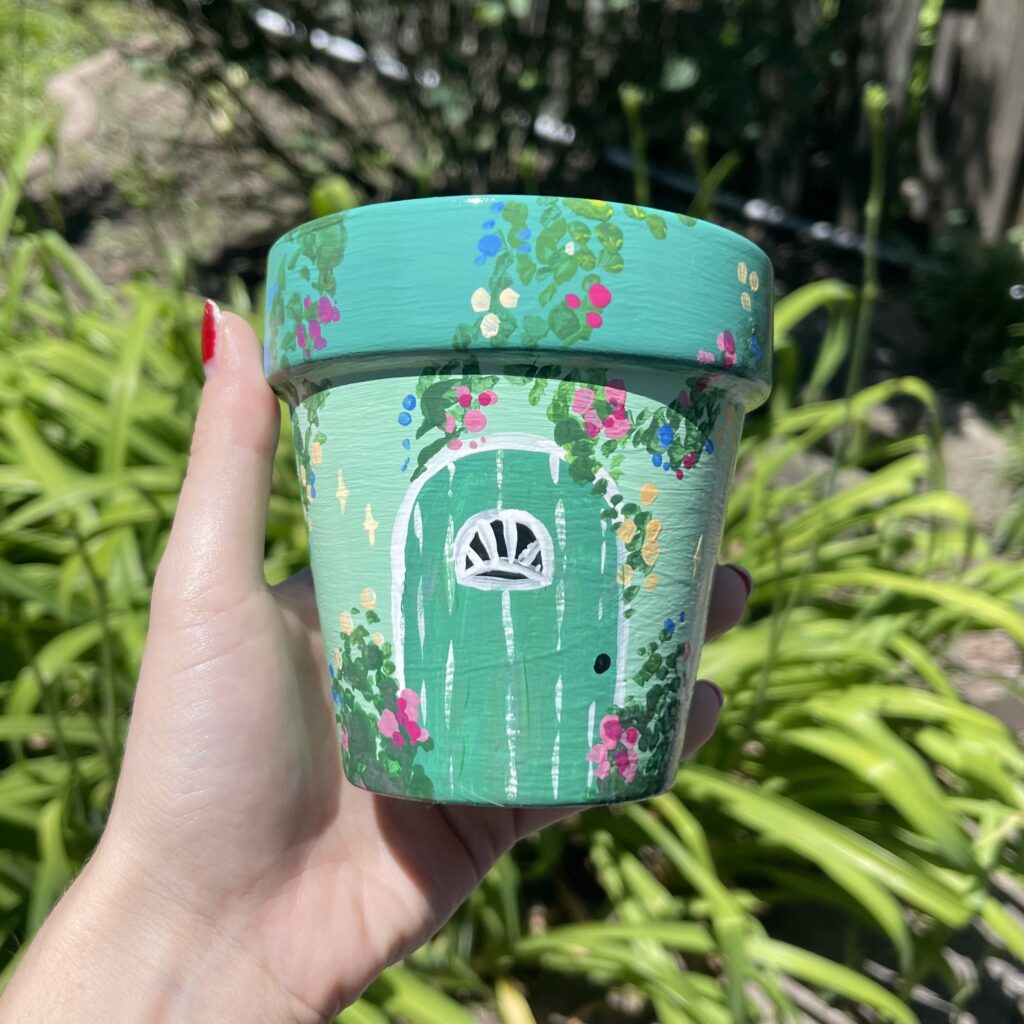
To spark ideas for my pot designs, I explored Pinterest, seeking illustration styles I could adapt.
Need inspiration? Focus on simple illustration styles. Think line art or designs with few details. Painting smooth lines on pots is tricky, especially on a curved surface!
Your welcome to use my designs for inspiration! If you purchase the paints I suggest, you’ll have every color required to recreate these looks.
Step by step instructions
With your materials assembled,let’s begin transforming your terracotta pots! Follow these simple,step-by-step instructions to craft your own charming and stylish designs.
Step 1: Prep your terracotta pots
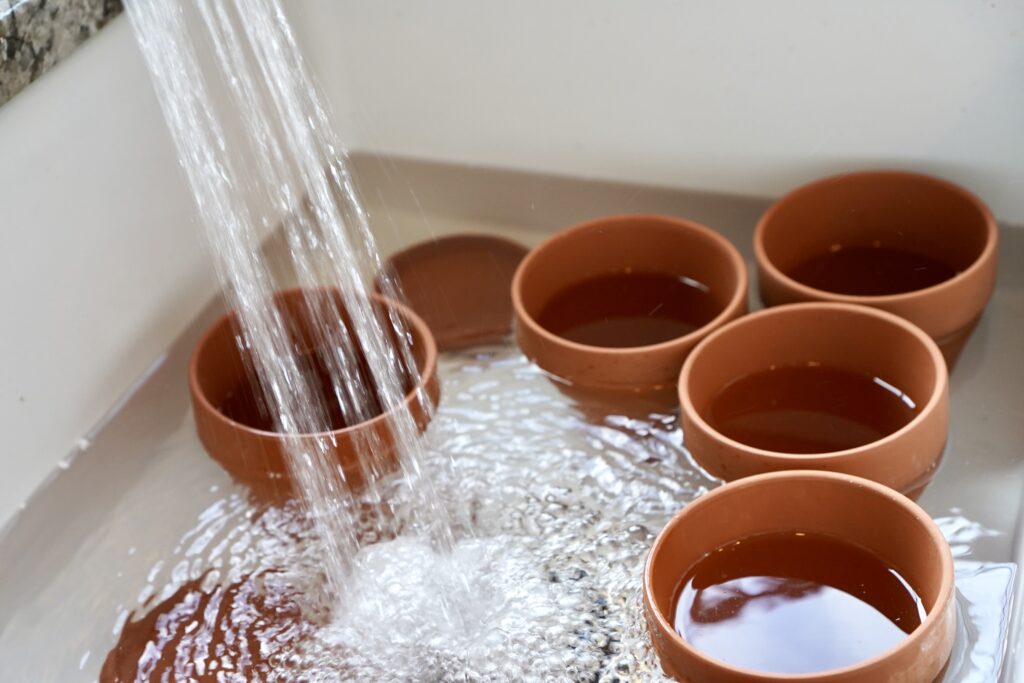
First, prepare the terracotta pots for painting.Ensure a smooth surface. Terracotta pots often have dust and debris. This prevents a smooth paint finish,so cleaning is essential.
Step 2: Prime your terracotta pots
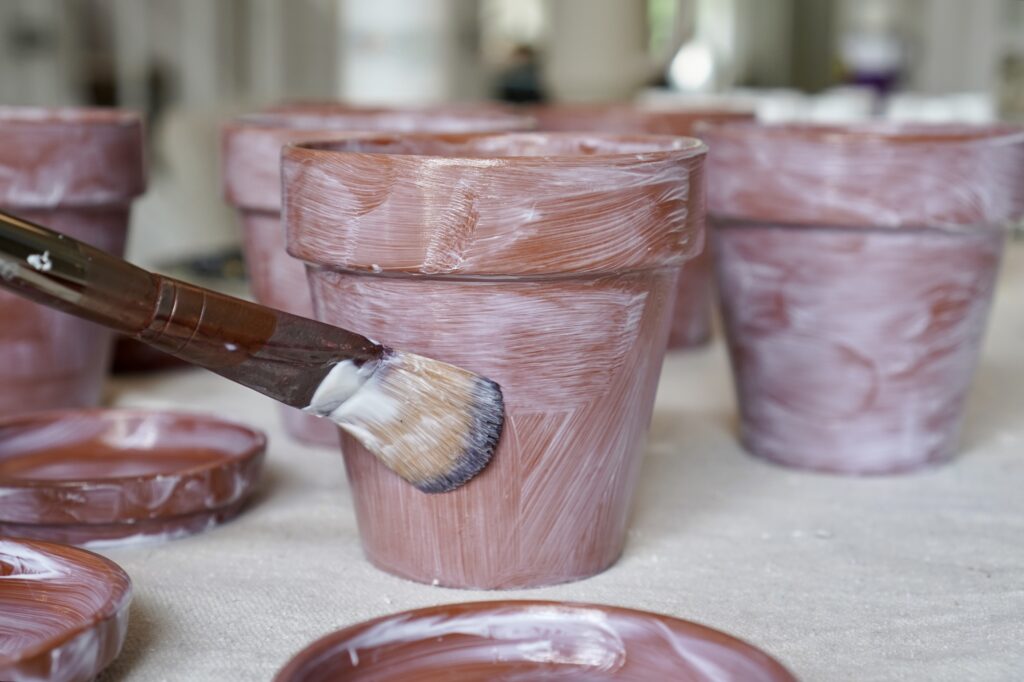
Terracotta pots are porous, so priming is key before painting. Priming seals the surface. This stops paint absorption and creates a smooth,even base. It also prevents peeling and flaking later.
Priming forms a protective layer,shielding paint from moisture. This extends the lifespan of your painted artwork.
Here’s how to prepare your terracotta pots:
The gesso might appear milky white during submission. Though, it dries clear. This color change indicates complete dryness, signaling you’re ready for the next step.
Step 3: Paint a solid color background
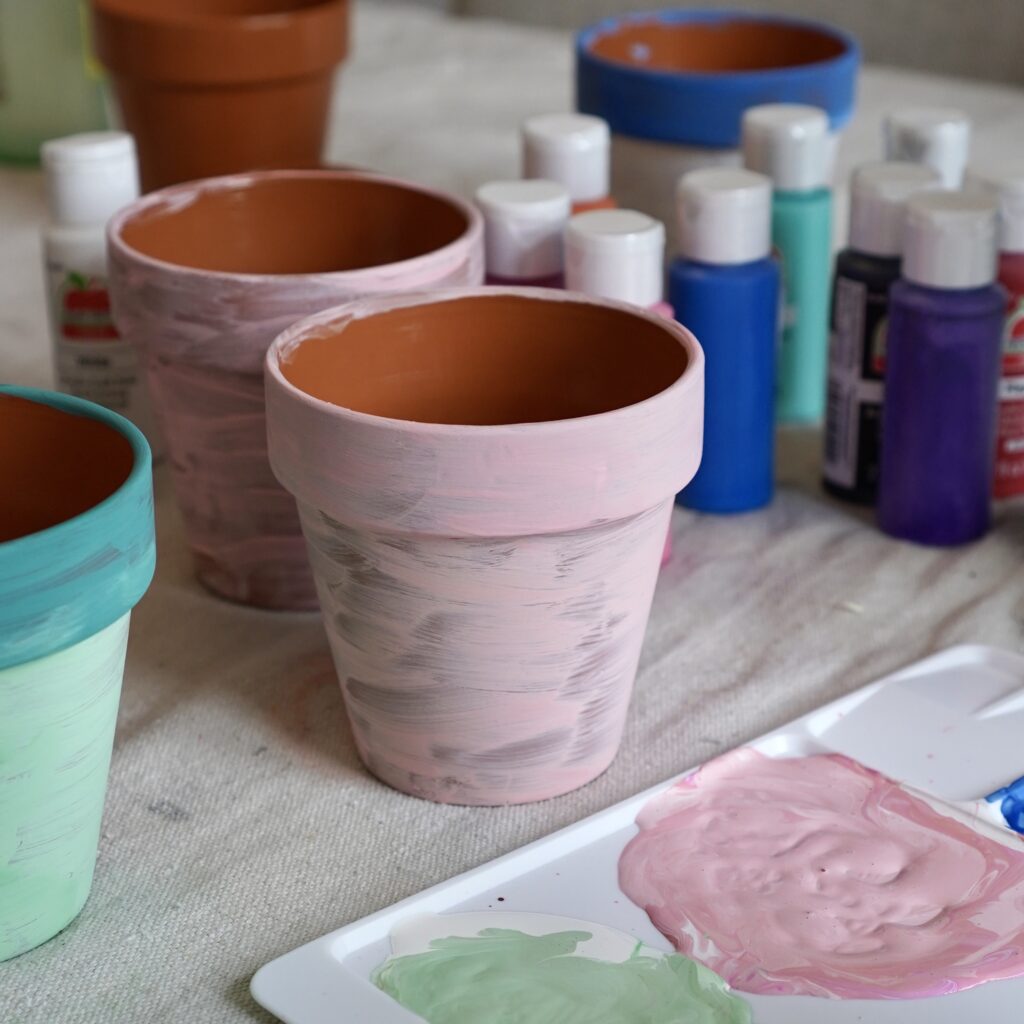
This stage hinges on your desired designs. I envisioned each pot with a vibrant, solid background to showcase my artwork. I selected colors for each and applied these base coats initially.
Consider painting designs on your pot. Allow the natural clay color to peek through for a unique look.
Ensure complete dryness before proceeding further.
Step 4: Paint on the designs
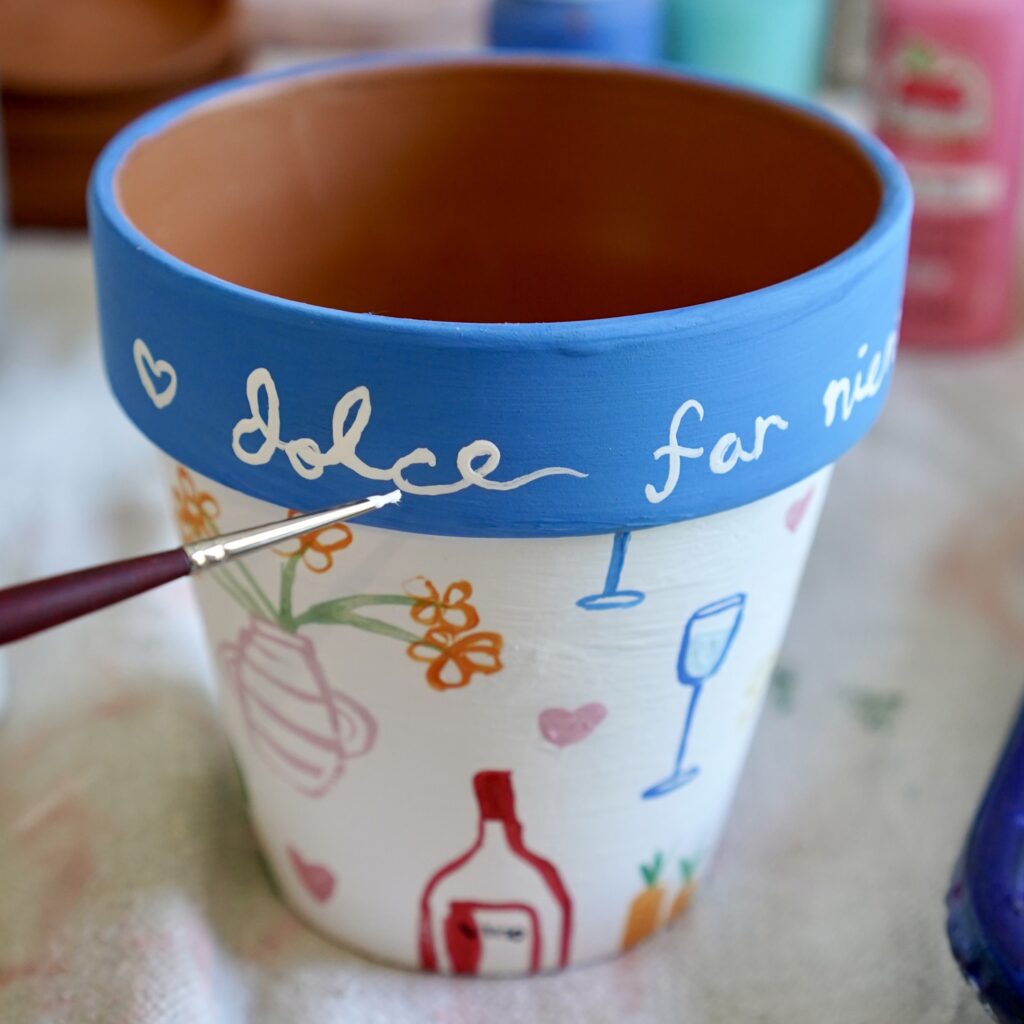
Time for the exciting part! I used a simple plastic palette to mix colors for my designs. I primarily used the tube colors, but I added white to create lighter and more opaque shades.
Explore my design portfolio for creative ideas and inspiration.
I created my designs without a guide,but sketching lightly in pencil beforehand is also a great option.
For finer details, I used acrylic paint pens. They were easier to manage than a brush. If you struggle with paint brushes, this could be a great option!
Step 5: Seal your designs
This final step is crucial, so don’t miss it! After painting, seal your designs with a gloss spray. This protects them, extends their lifespan, and adds a polished, professional shine.
For a matte look, matte sealer sprays are a great alternative and work effectively.
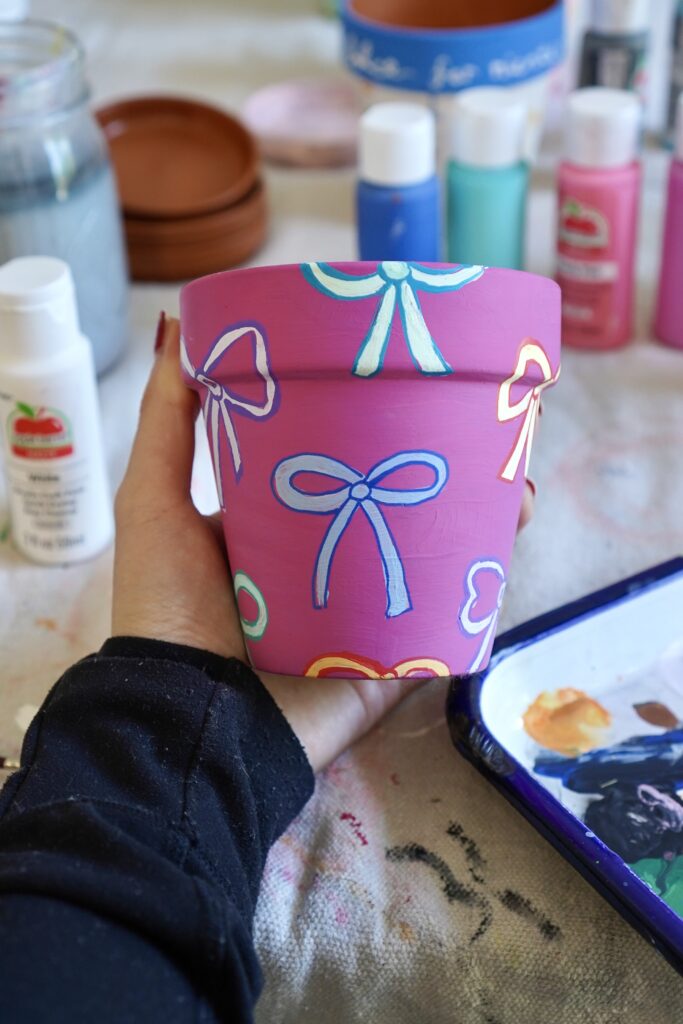
You’re all set! Now, relish your stunning terracotta pot masterpieces. They’re perfect as planters, storage containers, or simply as decorative accents!
FAQs
Can I still use my painted terracotta pots for plants?
Absolutely! Just remember that terracotta pots are naturally porous. this is beneficial for plants as it helps prevent root rot by reducing excess soil moisture. Painting the pots creates a barrier, eliminating their porous nature. This isn’t a problem, but it requires more careful watering. Fortunately, the pots I used include drainage holes, further minimizing the risk of overwatering.
How long does the paint take to dry between coats?
Acrylic craft paint typically dries fast, though humidity and temperature affect the drying time. For my base coat, I waited roughly 20 minutes between each layer. Always let each coat dry fully before adding another. This prevents smudging and ensures a smooth, professional look.
Can I leave my painted terracotta pots outside?
Painted terracotta pots can indeed live outdoors! The key is using a weather-resistant sealant to shield your artwork.Acrylic gloss varnish, specifically designed for outdoor applications, is a great choice. It safeguards your painted designs from rain, sunlight, and fluctuating temperatures. While a quality sealant offers protection, some wear is certain. Consider moving your pots inside during harsh weather to preserve their beauty.
I trust you’ll find as much joy in crafting these painted terracotta pots as I did! it’s a truly rewarding and imaginative method to infuse your home decor with your unique style.
