- Why you should consider doing gel nails at home
- At home Gel Nails Supplies: Everything you need
- How to Do your Gel nails at Home in 4 Simple Steps
- Mistakes to avoid
- FAQs & Troubleshooting
- How to Remove Gel Nails at Home
I wasn’t always a nail enthusiast. I enjoyed the occasional gel manicure, but frequent salon visits for removal and reapplication became too costly.
Discovering how simple and budget-friendly it is to create gel nails at home was a game-changer for me! I now save considerable time and money. Plus, I consistently enjoy stunning, durable, and healthy gel manicures!
This detailed guide explores the world of DIY gel nails. We’ll cover everything from the benefits of creating your own gel manicures to the necessary tools and easy-to-follow instructions. Consider this your complete resource for achieving salon-quality nails at home.
Tired of chipped nail polish after just one day? Get ready for a manicure revolution! Enjoy flawless nails for up to two weeks, no touch-ups needed.
Why you should consider doing gel nails at home
still unsure? Let me highlight the advantages of gel polish over customary nail polish.
Gel nails vs regular polish
Cost of doing gel nails at home
Salon trips are enjoyable,yet frequent visits can be expensive. Mastering gel nails at home saves you money. Plus, you can freely explore colors, designs, and styles without high salon costs.
creating your own gel manicures at home requires an initial investment in tools. However, the long-term savings and convenience make it worthwhile.
I’ll detail all necessary supplies, including my preferred brands, further down. Initially, setting up my at-home gel nail kit cost less than $50.
This cost is similar to what you’d pay for one gel manicure at a salon!
How long do gel nails take at home?
Applying gel nail polish at home requires roughly 45 minutes for both hands. This is significantly longer than a standard manicure, which I could complete in approximately 20 minutes.
Doing gel nails yourself takes more time than using regular polish. The preparation is more detailed. You’ll need more coats of polish. Each coat needs 1-3 minutes to cure under a UV lamp.
Still, this minor inconvenience is worth it for a flawless, glossy gel manicure that endures for more than two weeks! This is especially true when you consider salon visits involve travel, waiting, and drying time.
For me, a single episode of Netflix or YouTube makes the time fly by while I do my nails!
At home Gel Nails Supplies: Everything you need
Begin your DIY gel nail journey by gathering the necessary tools. A complete starter kit, featuring a UV lamp, is available for less than $50 on Amazon. Find a full supply set here. This is a convenient way to acquire all essentials in one purchase.
This is a list of necessary items and my personal suggestions.
UV Lamp: A UV LED lamp is the biggest investment for DIY gel nails. You can choose between regular and LED types. higher wattage lamps cure your gel polish faster.
Fortunately,affordable gel polish lamps are readily available on Amazon.
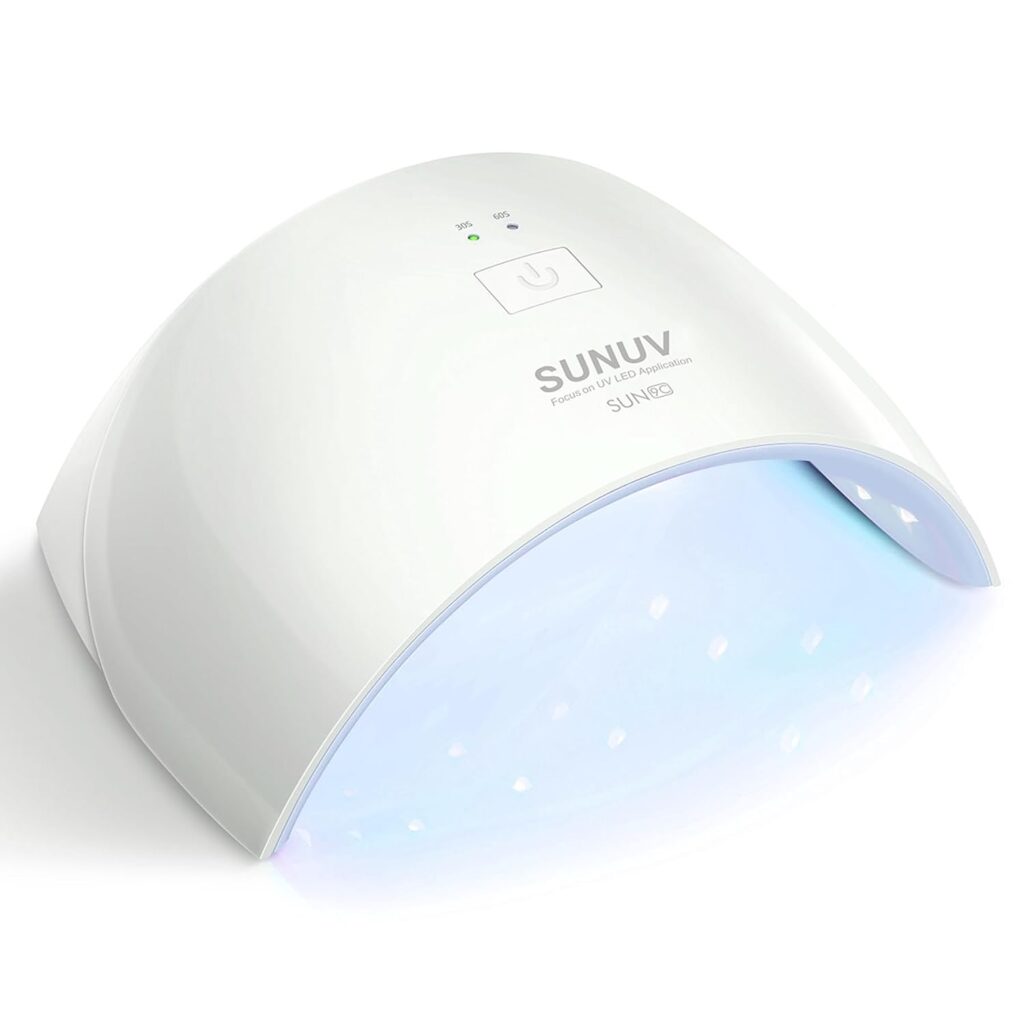
This LED lamp is fantastic! It cures gel polish quickly. Plus,the built-in timer with 30 and 60-second options makes timing my manicures effortless.
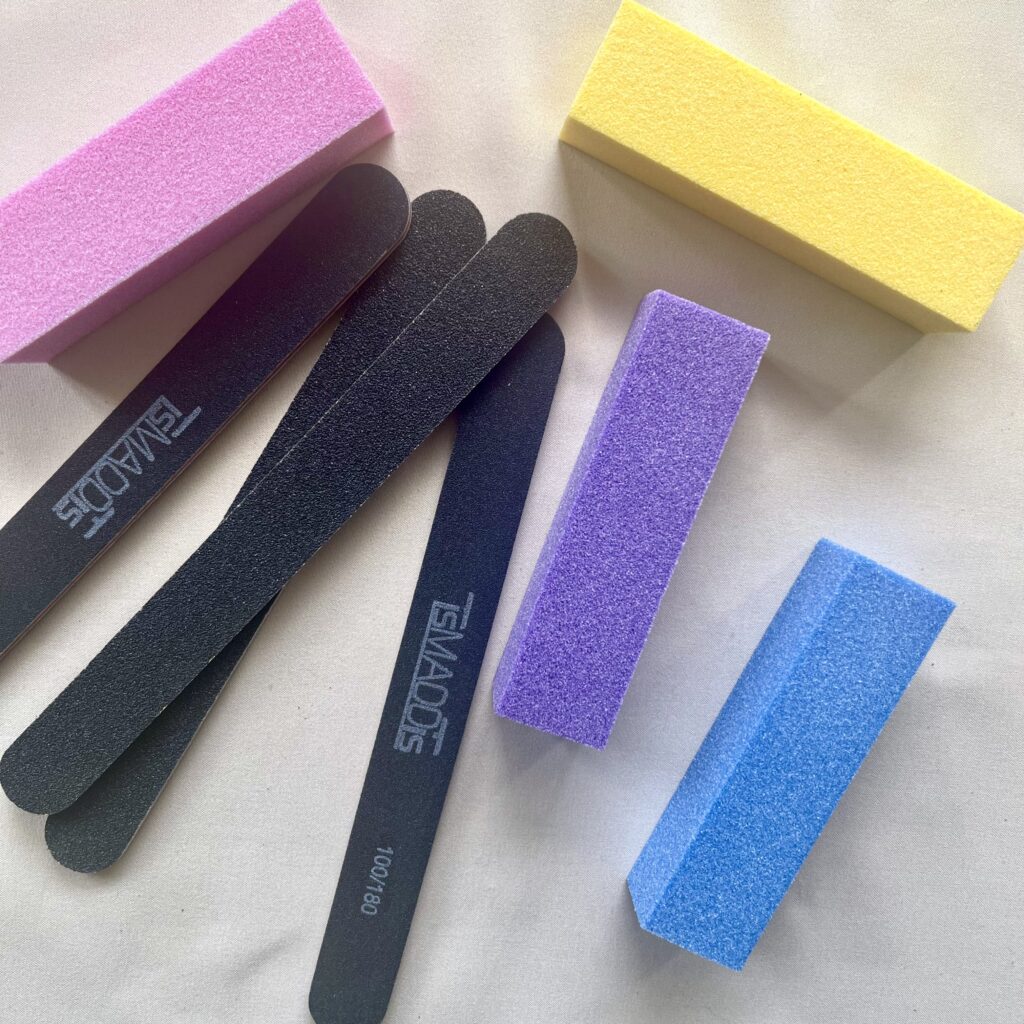
Nail file and buffer: Even if you’re a nail buffer newbie, these are key for prepping nails for gel polish. Grab a set! I find affordable options on Amazon.
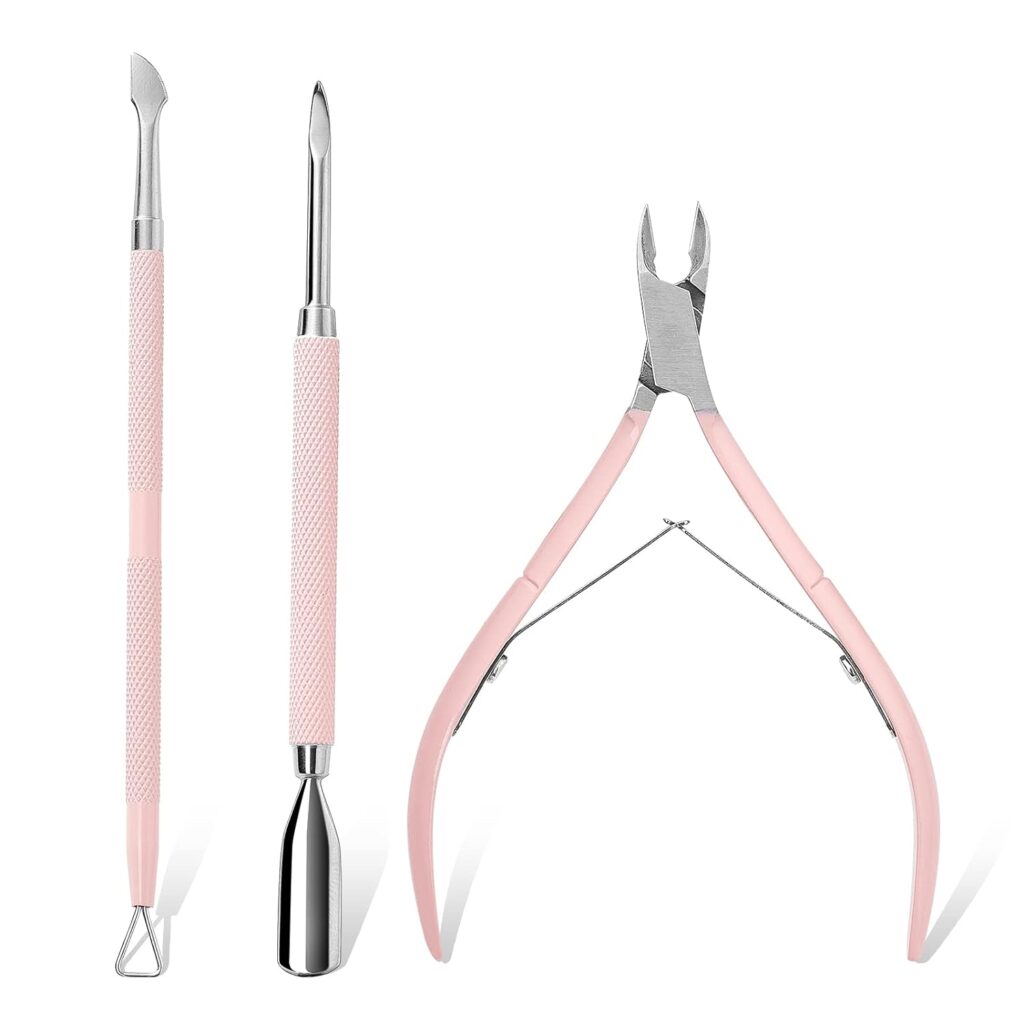
Cuticle pusher and trimmer: Trim and push back your cuticles to prepare your nails for gel polish. This also creates a longer-looking nail.
Gel nail polish: Naturally, you’ll need your chosen gel polish. The vast array of individual polishes and sets makes this a fun part! Glitter polishes, in particular, offer colors difficult to replicate with standard polish.
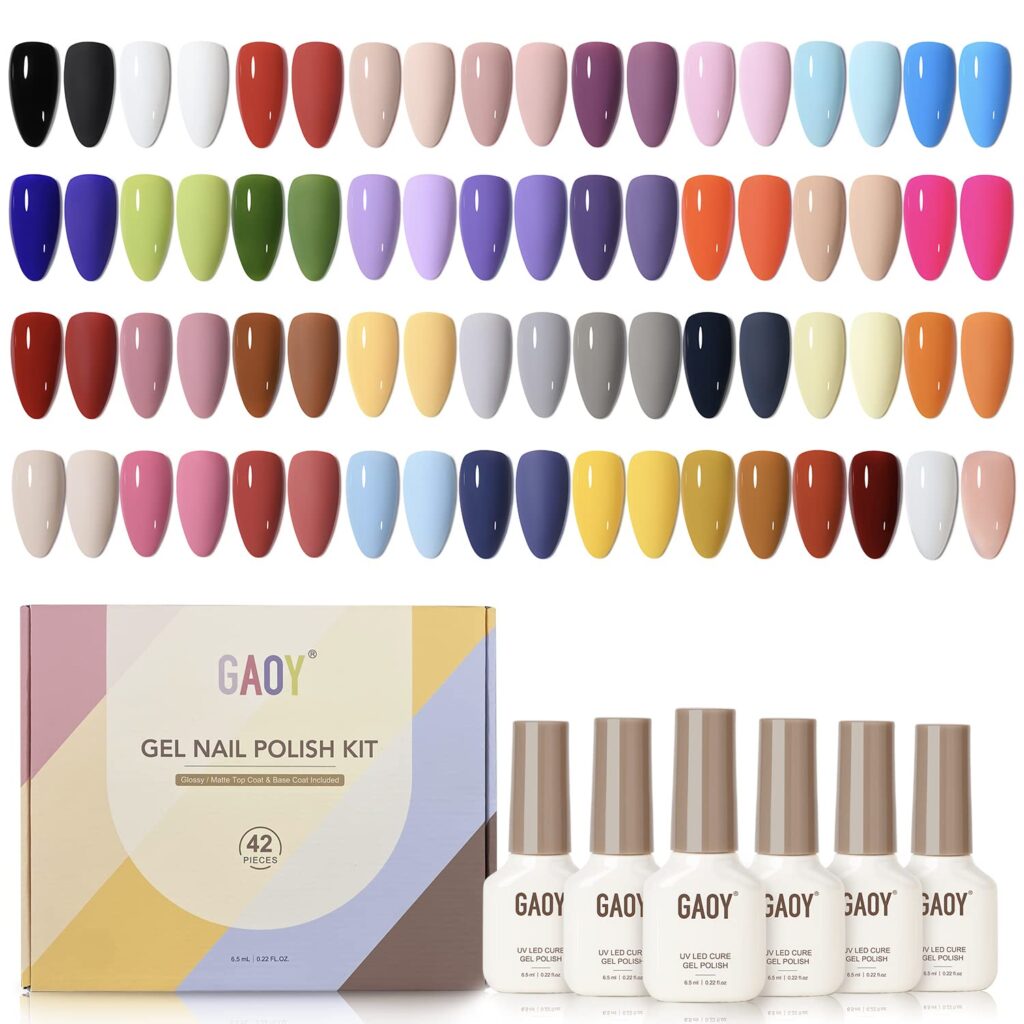
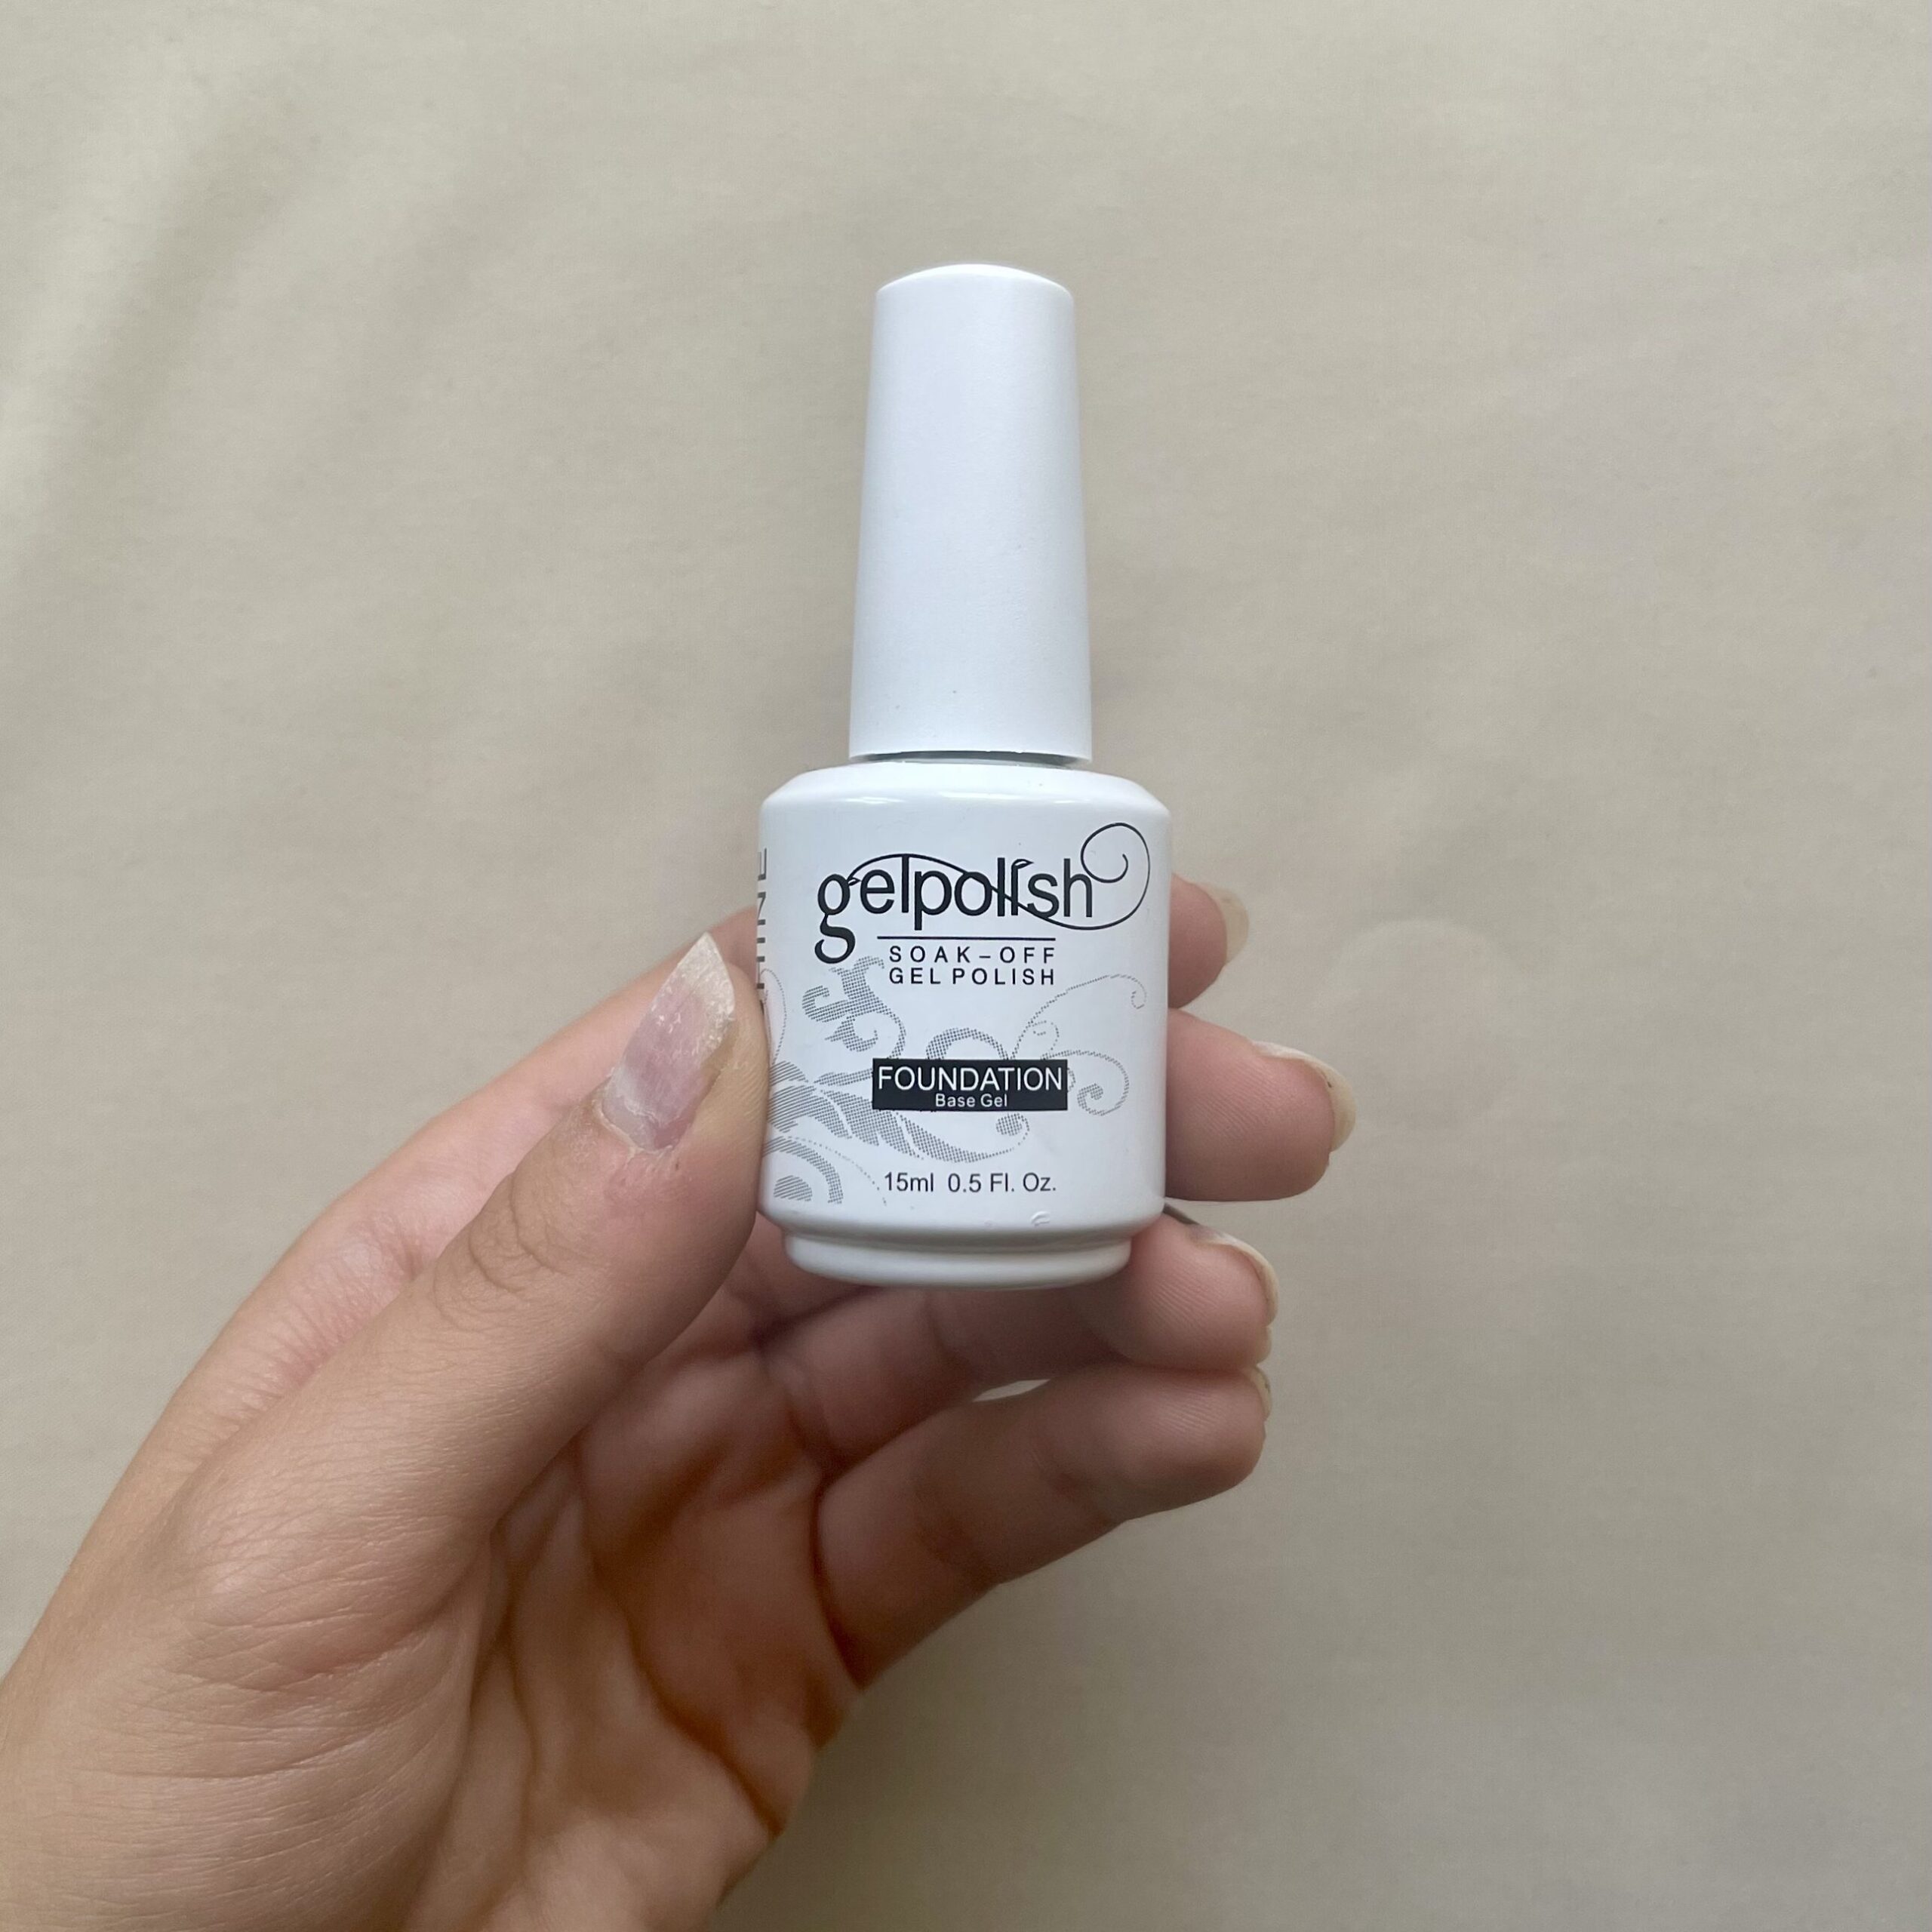
Base Coat & Top Coat: High-quality base and top coats are crucial for gel manicures. They are not optional! This affordable set from Amazon offers salon-quality results.
Acetone and cotton balls: Acetone is essential for gel polish removal.Use it to prep your nails by removing oils and debris. This ensures your gel polish lasts longer.
How to Do your Gel Nails at Home in 4 Simple Steps
Let’s explore the detailed steps to create professional-looking gel nails in your own home.
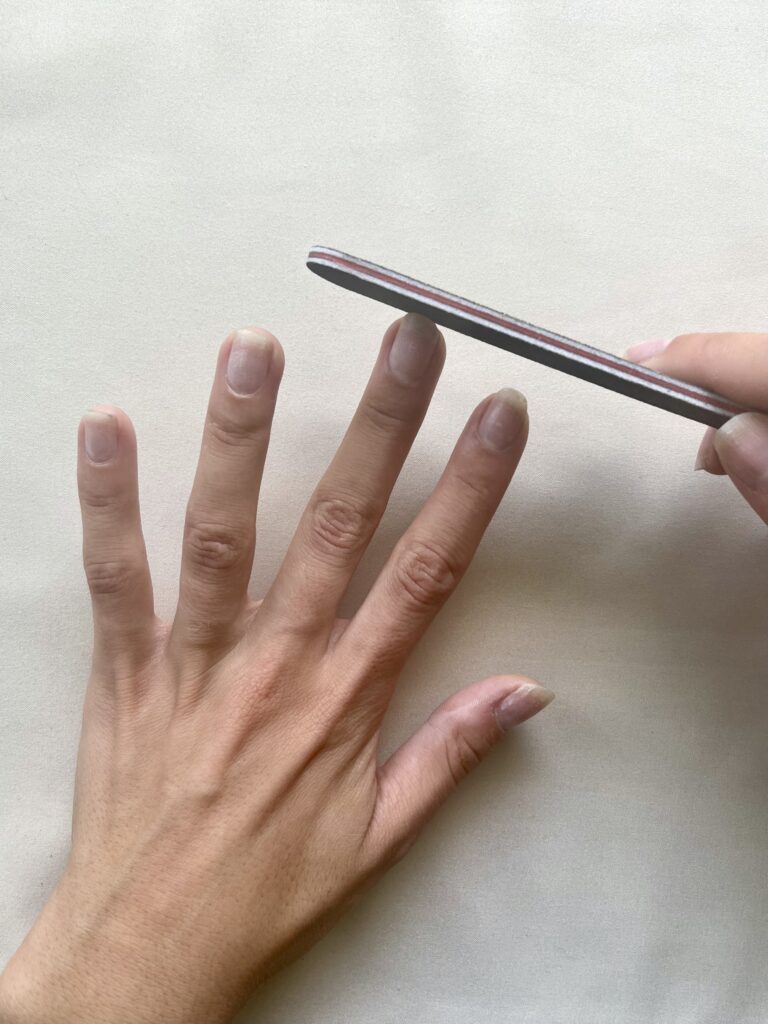
Step 1: Prep your Nails
Begin by preparing your natural nails. This process is slightly more detailed than a standard manicure prep. Though, it’s essential for creating a perfect gel manicure base.
Step 2: Base Coat
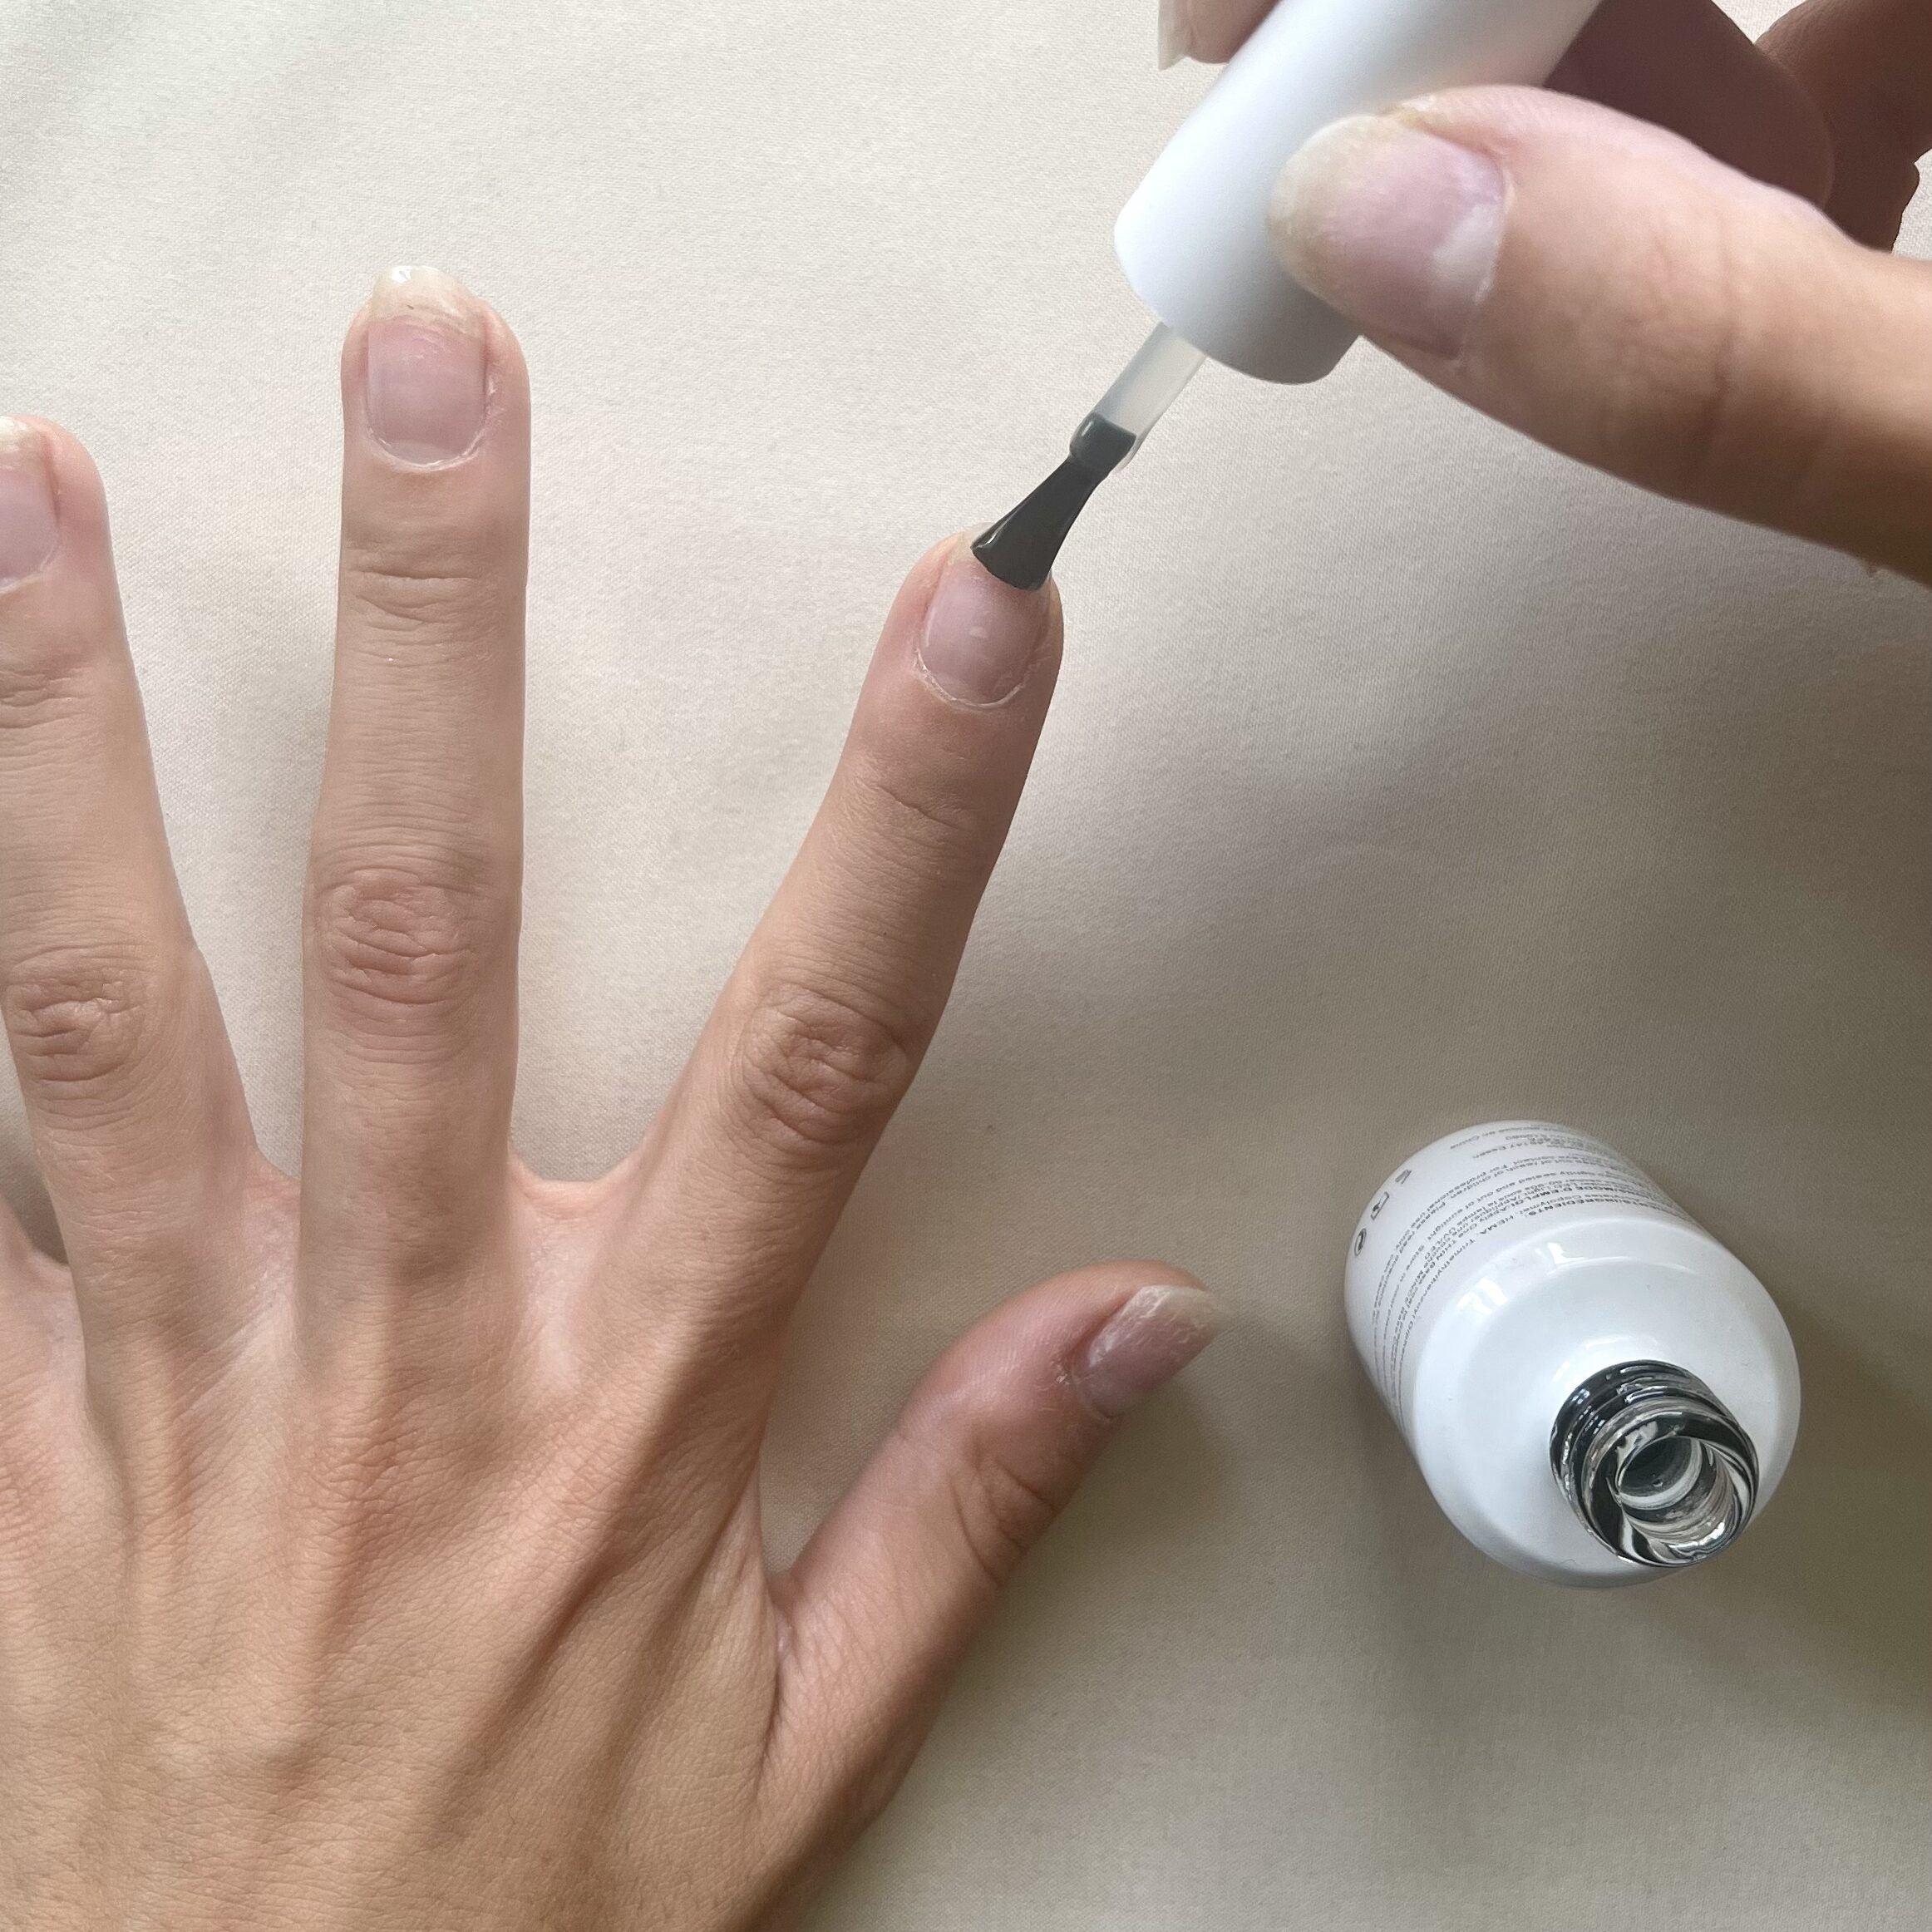
Apply a thin base coat to each nail. Wholly cover the nail, being careful not to get any on your skin.
Harden your nail polish using a UV lamp. The curing time varies based on your base coat and lamp type. If you’re using my recommended base coat with an LED lamp, cure for 60-90 seconds.
When applying a base coat, ensure your nails remain slightly sticky, not fully dry, after curing.
Step 3: Colour & Designs
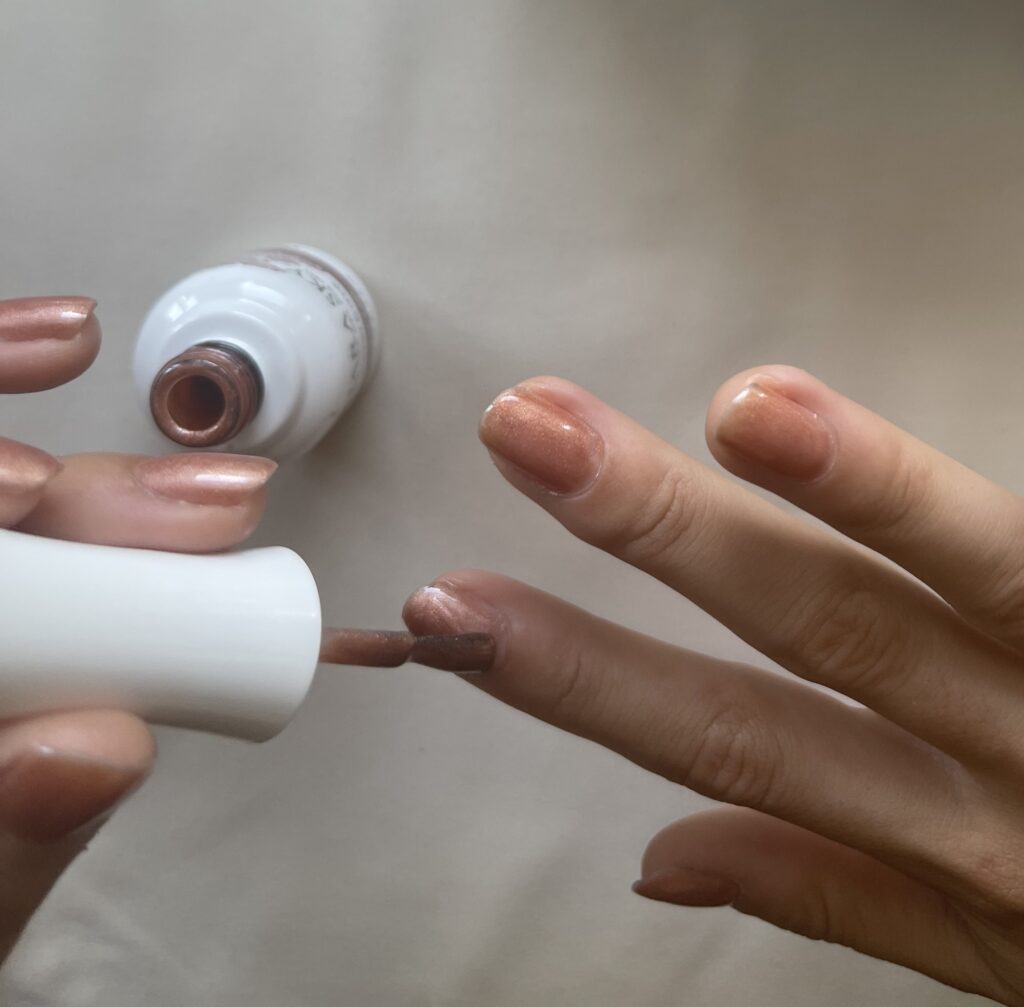
Now’s your chance to shine! Apply your gel polish in thin, smooth layers. Be careful to keep the polish off your skin. Feel free to play with various colors and nail art.
Following each coat, harden your nails using a UV or LED lamp for the duration recommended by your gel polish. Curing times differ between brands, so always consult the instructions!
Apply the number of coats you prefer; each layer creates a unique look. Aim for approximately 1 to 3 coats.
Step 4: Top Coat
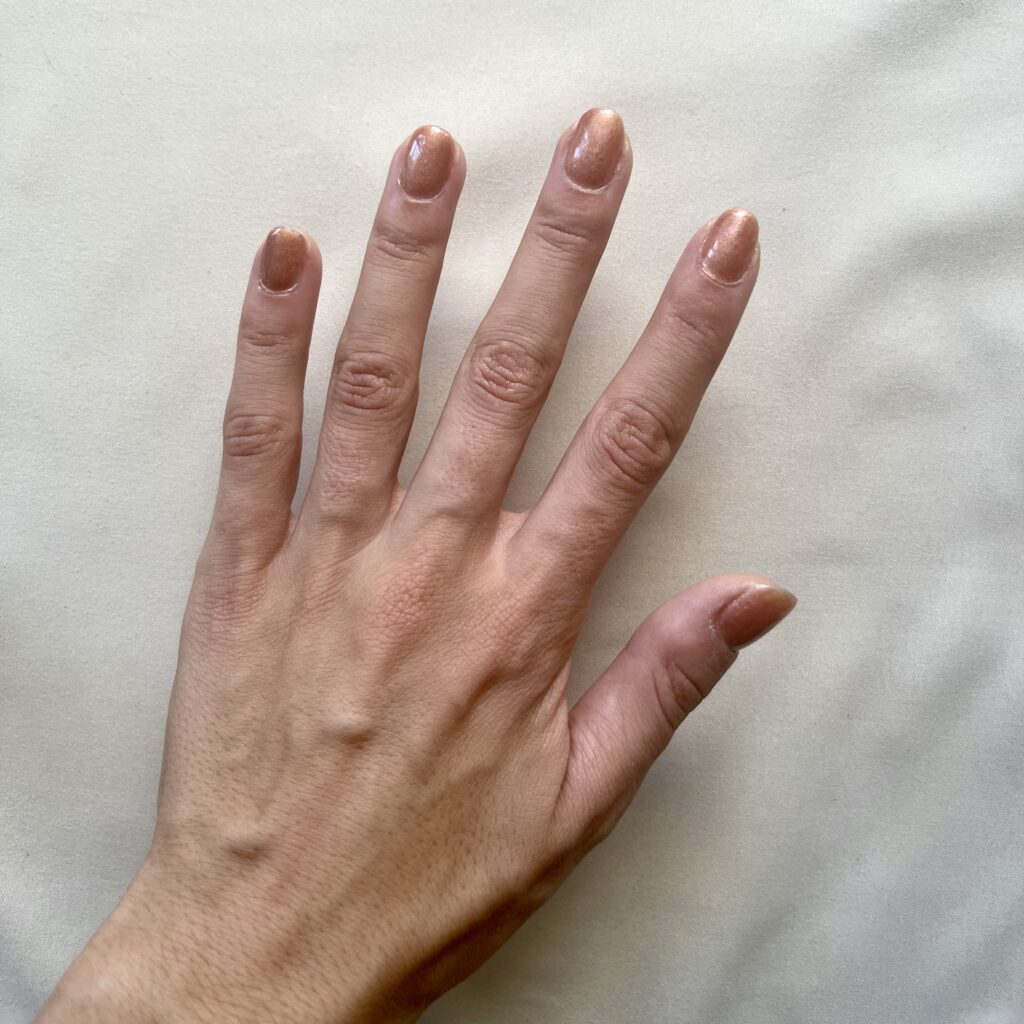
Seal and safeguard your gel manicure with a top coat. Cure it one last time under the UV lamp. That’s it! Your nails are now dry and ready to go.
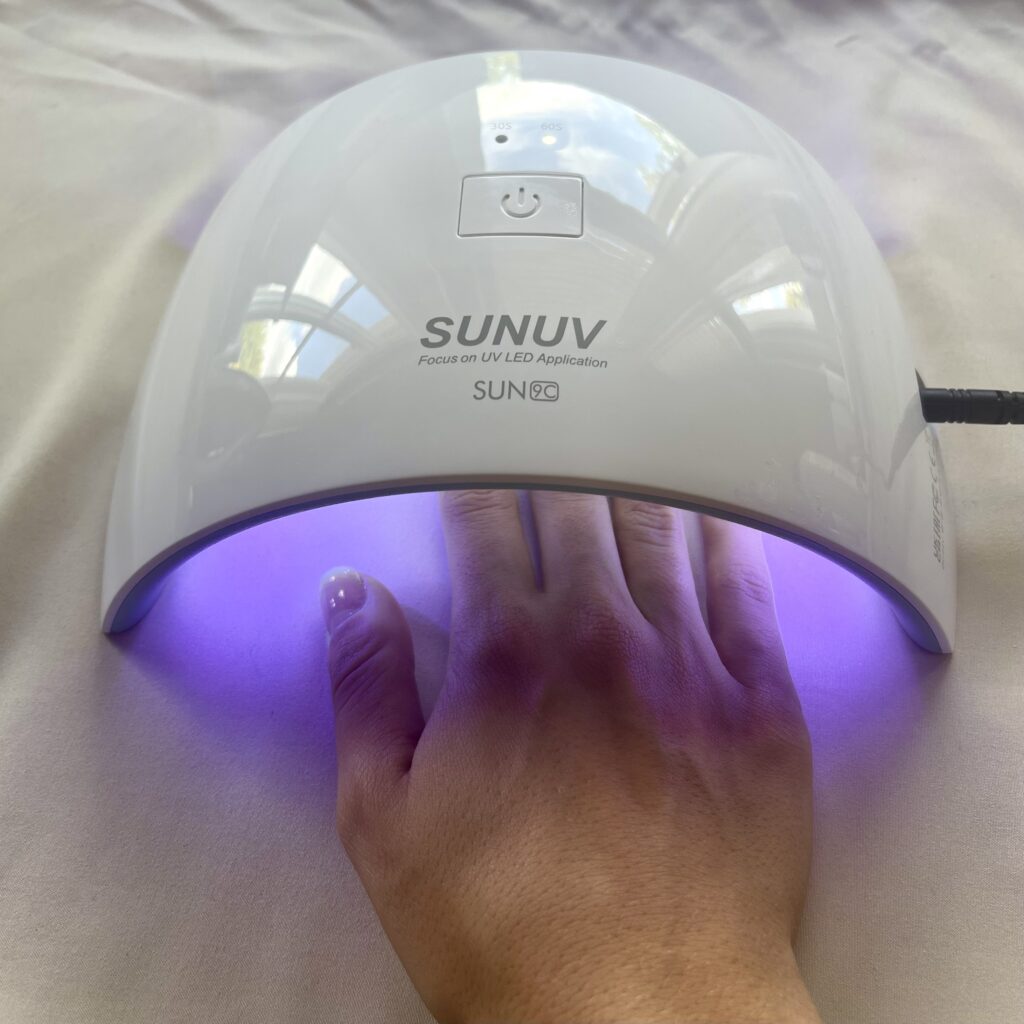
Always refer to the bottle for the recommended curing time and specific directions for your top coat. I suggest curing top coats under an LED lamp for 90-120 seconds.
Mistakes to avoid
Getting flawless gel nails at home requires practice.Avoid common errors that can ruin your manicure’s look and lifespan. Here are some mistakes to watch out for:
Applying too thick layers of gel polish
A frequent error is applying gel polish too thickly. Thick coats take longer to cure and are more likely to chip or peel. Gel nails look best with thin, even layers. Avoid the urge to rush by applying too much polish. patience is key!
Getting gel polish on your skin on the sides of your nails:
Excess gel polish on your cuticles greatly increases the risk of premature peeling. Gel polish doesn’t adhere to skin like it does to nails,leading to edge peeling. If you get polish on your skin, remove it with acetone and a brush before curing for best results.
Curing for the wrong amount of time:
Insufficient curing leaves nails weak and chip-prone. Conversely, over-curing gel nails can cause dryness and harm. Always adhere to the manufacturer’s recommended curing times. These times differ based on the brand and product. Accurate curing guarantees a durable and lasting gel manicure.
FAQs & Troubleshooting
Gel manicures offer a durable, professional finish you can achieve yourself. Yet, issues can arise. Let’s explore some common questions and helpful solutions.
Why do my gel nails peel off after a day?
it’s annoying when gel nails peel, and several factors can cause it. Frequently enough, the problem starts with inadequate nail preparation. If you don’t clean, buff, and remove oils from your nails properly before applying the gel, it won’t stick well. Also, applying gel polish too thickly or missing the base coat can cause peeling. To prevent this, prep your nails carefully, apply thin coats, and always use a base coat for improved adhesion.
Why are my gel nails sticky?
Gel nails feeling sticky is often caused by under-curing. This means the gel wasn’t under the UV lamp long enough.Always follow the curing time recommended by the polish brand. If stickiness persists after curing, the gel polish might be old or expired. Using new, quality gel polishes can help avoid this problem.
How can I cure gel nails without uv light?
No UV lamp? No problem! “No-light” or “gel-like” nail polishes can give you a similar look. These polishes offer gel-like shine and wear without needing to be cured under UV light. While they might not last as long as traditional gel nails, they’re a great option if you don’t have a UV lamp.
What are the dangers of gel nails?
The most common concern regarding gel nails revolves around the use of UV lamps during the curing process.
Lately, many are worried about health risks, notably skin cancer from UV exposure. It’s key to understand the difference between traditional UV lamps and LED UV lamps.
Typically, brief UV lamp exposure during gel manicures is considered insufficient to cause harm. If you’re worried about UV exposure, seek guidance from a dermatologist or doctor for tailored recommendations.
How to Remove Gel Nails at home
Your stunning gel manicure is ready for a refresh! Removing gel nails at home is simple. It just takes a little patience and the correct tools. Here’s how to do it safely and effectively:
Step 1: Prep Your nails
Begin by carefully filing the surface of your gel nails. This action weakens the gel’s protective layer. It also allows acetone to soak in more effectively, which simplifies the removal process.
Step 2: soak Cotton Balls in Acetone
grab small cotton ball pieces and saturate them with pure acetone. Ensure you have enough cotton to fully cover each nail.
Step 3: Place Cotton Balls on Your Nails
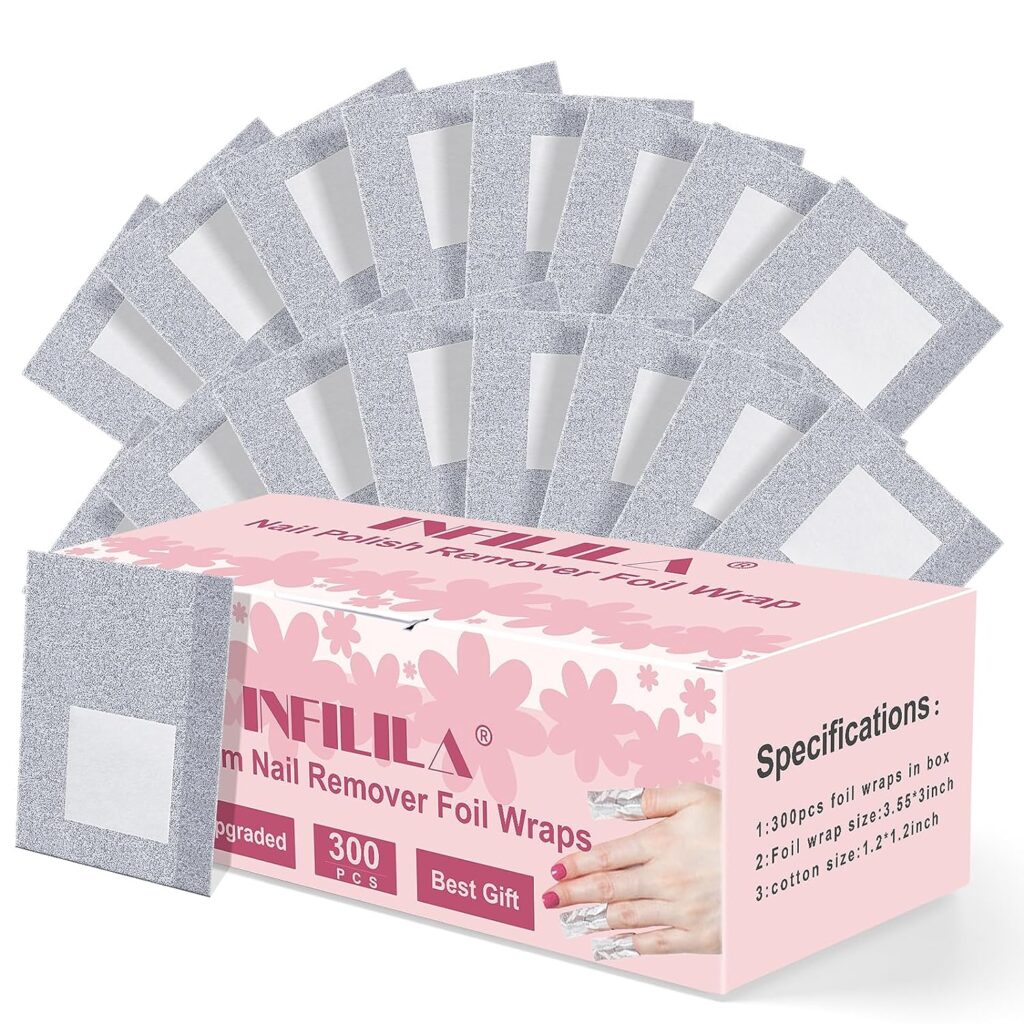
Position the saturated cotton balls directly onto each nail. Ensure complete coverage of the nail, encompassing the gel polish. Secure them by wrapping small foil pieces around your fingertips.
Step 4: Wait Patiently
Time to unwind! Let the acetone do its job.Keep the cotton balls and foil on your nails for 15-20 minutes. This helps the acetone dissolve the gel polish thoroughly.
Step 5: Remove Gel Polish
Once the waiting time is over,gently press and remove the foil-wrapped cotton balls. The gel polish should easily come off, either completely or in fragments. For any remaining stubborn areas, use an orange stick or wooden cuticle stick to gently push the gel off. Be careful not to scrape too hard, as this can damage your natural nails.
Step 6: Clean and Moisturize
After removing all gel polish, wash your hands well to get rid of any remaining acetone. acetone can dry out your nails, so apply a hydrating nail and cuticle oil to nourish them.
Step 7: Buff and Shape (Optional)
gently smooth your nails with a buffer if you have ridges or unevenness.Avoid excessive buffing, as it can weaken them.
Step 8: Give Your Nails Some Love
Once the gel polish is removed, pamper your nails. Use a fortifying base coat and allow them to recover before re-applying polish or going bare.
That’s it! You now have the knowledge to create gorgeous DIY gel nails in your own home. We discussed why gel nails are so popular, reviewed the essential tools, and guided you through every step.
